Subjects
To add your classes to your timetable, subjects are used to group your classes. For example; maths, science and engineering.
The Subjects Page
To access your subjects, head to your menu and click 'Subjects'. It will be on the left hand side for desktop users, and for mobile users, open the menu by clicking the 'three lines' button in the top left corner.
Introduction
When you first get started on Subjective, your Subjects page will be blank unless you have migrated your timetable from Sentral, so you'll need to create subjects for all your classes.
Sentral Import
When your timetable is imported from Sentral, Subjective automatically creates subjects for you.
Due to the limitations of Sentral timetables, subject colours are automatically derived from the subject name, meaning that people with the same subject name will have the same colour for them.
The subject name to colour algorithm is as follows:
- Hash the subject name using the SHA-256 algorithm.
- Convert the hash to a hexadecimal string.
- Take the first 6 characters of the string.
- Convert each byte to a number.
- For each colour in the Subjective colour palette, calculate the difference between the colour and the subject colour.
- Choose the colour that is not already taken with the smallest difference.
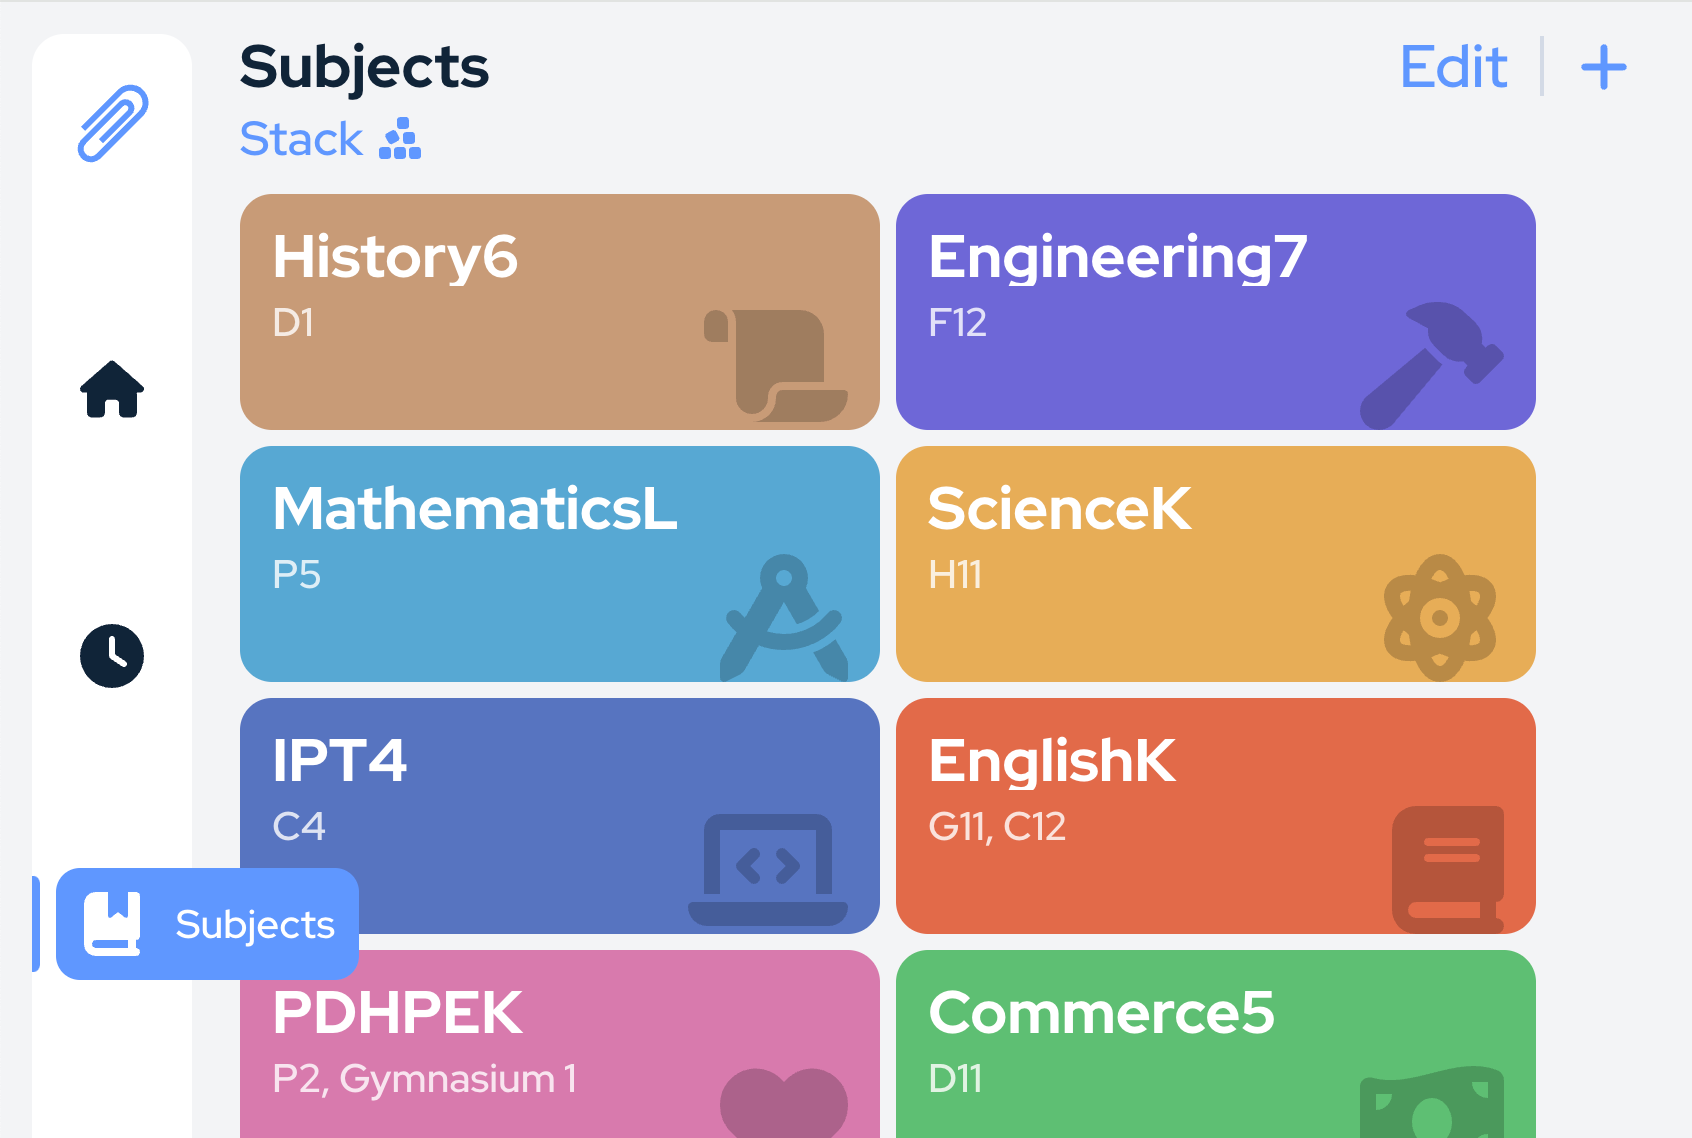
Viewing Subjects
Each subject is displayed as a card, with the subject name, icon, locations, and colour displayed on the background.
On desktop, switch between Stack and Grid view by pressing the button in the top left.
Creating a Subject
- Press the '+' button in the bottom right.
- Choose a name, an icon, some locations, and a colour to represent the subject.
- Press the '+' button to add a location.
- Press the bin button to remove a location.
- Press the location to edit it.
- Press 'Add' to add the subject.
Editing a Subject
- Press the 'Edit' button on the top right.
- Press the 'Edit' button under the subject you want to edit.
- Edit the subject's name, icon, locations, and colour. The changes will be saved automatically.
- Press the '+' button to add a location.
- Press the bin button to remove a location.
- Press the location to edit it.
- Press the 'Done' button on the top right to finish editing the subject.
Deleting a Subject
- Press the 'Edit' button on the top right.
- Press the 'Delete' button under the subject you want to delete.
- Press the 'Done' button on the top right to finish editing the subject.